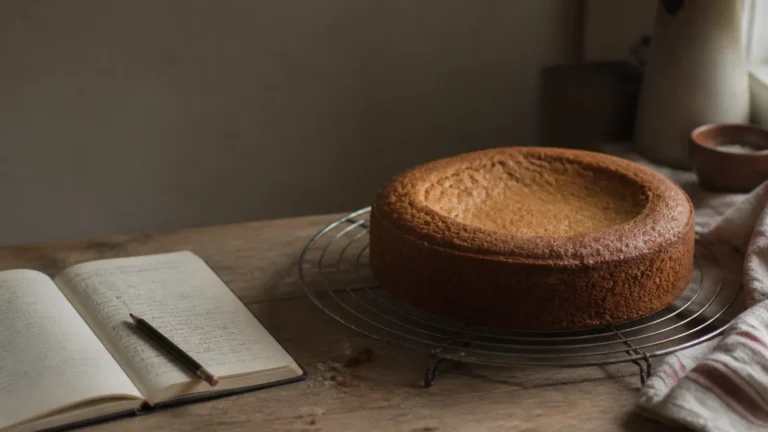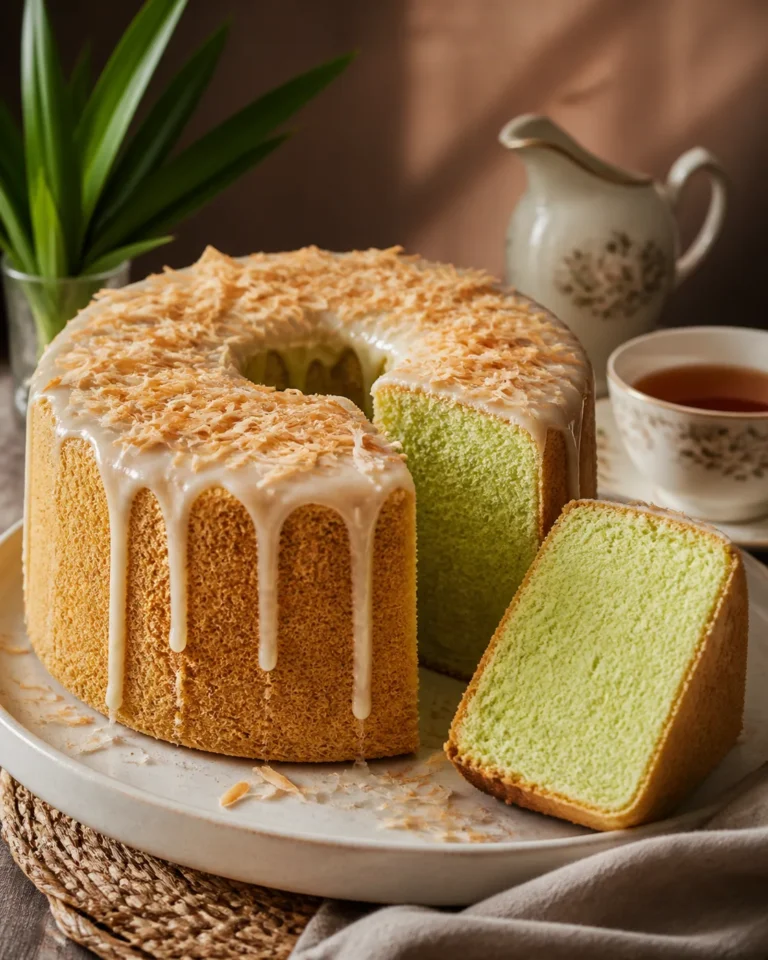

If you’ve ever walked down the street in Vietnam, you know the comforting soundtrack of the morning: the low hum of motorbikes, the warm clatter of street stalls, and the deep, rich scent of roasting coffee beans. Coffee there is unapologetically bold, balanced only by the golden sweetness of condensed milk stir-whirled at the bottom of the glass. This Vietnamese Coffee Tiramisu is my love letter to those sweet, simple mornings—a cozy, pillowy dessert that transforms those childhood memories into something melt-in-your-mouth delicious.
Tiramisu is probably the very first dessert that I ever made when I first learned how to bake and it was the recipe from Mum’s baking teacher. Back then, whenever there were special occasions like birthdays of cousins or just a monthly family gathering, Mum would always make a 20cm tiramisu and the plate would always be empty. I remember mum would ask me to go to the local grocery shop two blocks away from the house to get her the instant coffee for the soaking syrup. I never knew how authentic tiramisu should have tasted like back then, but this was the tiramisu that I grew up and fall in love with it. Mum’s original recipe would contain cream cheese but I take it out from this recipe to create a lighter and more velvety version.
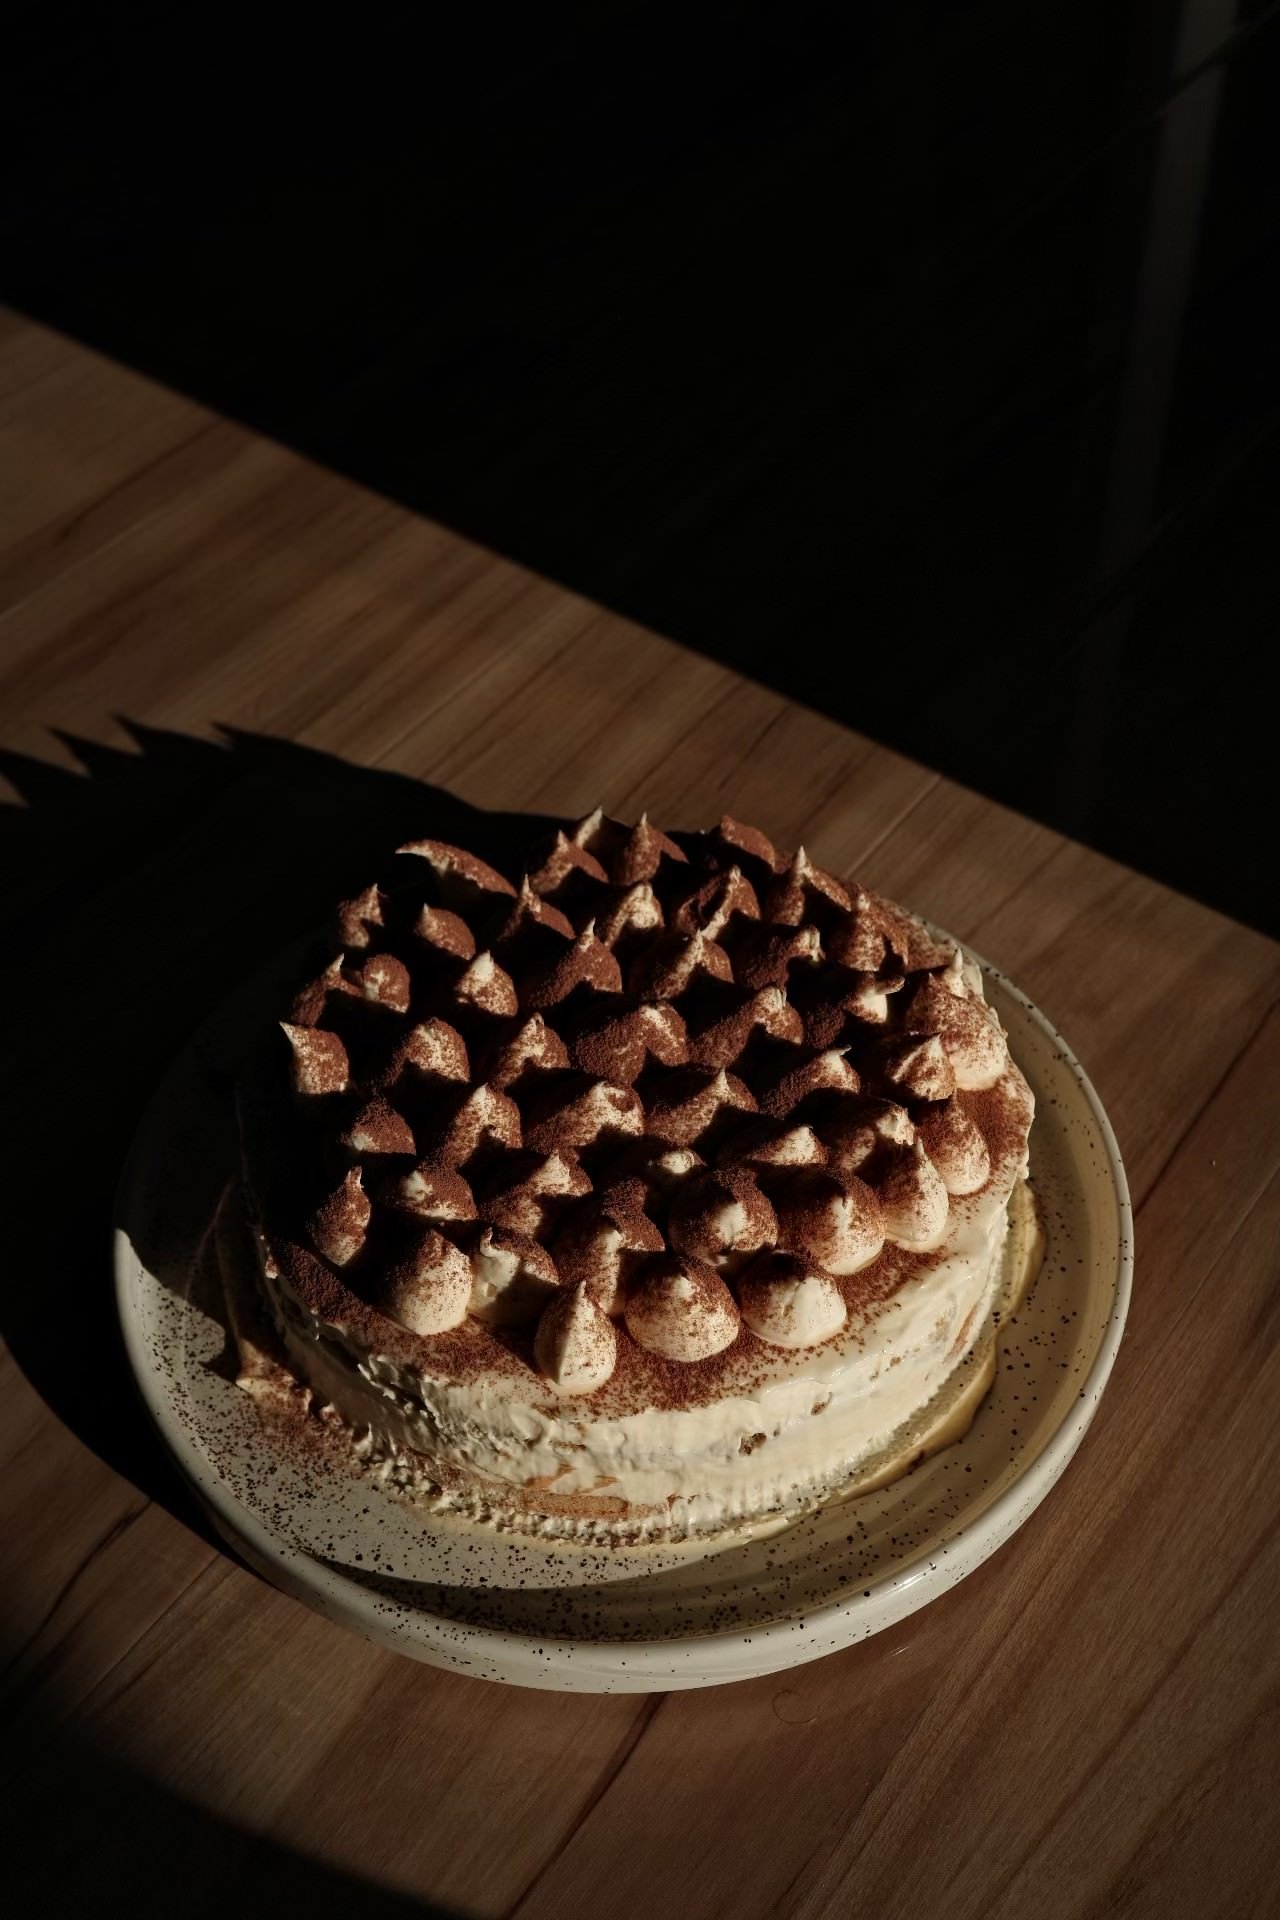
Vietnamese Coffee Tiramisu
Ingredients
Method
- If using the phin filter, brew the ground coffee and get 200 g of the coffee. If using the instant coffee, add in 200 g of hot boiling water and whisk well until dissolved
- In a medium mixing bowl, add all ingredients and whisk well.
- Preheat oven to 190oC fan
- Put the egg whites into the bowl ofa stand mixer with a whisk attachment. Add half the sugar to the egg whites and beat on full speed until soft peaks form, then gradually add the remaining sugar. Continue until firm with stiff peak.
- In a separate bowl, with a handwhisk, gently mix a quarter of whipped egg white and egg yolks. Using a rubber spatula, lightly fold this mixture back into the remaining egg whites. Add the flour and combine for a few seconds only, without collapsing the mixture
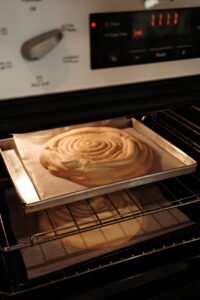
- Using a plain 1 cm nozzle, pipe 2x17 cm discs, 1 cm deep over a flat tray lined with baking paper
- Bake for 8-10 minutes until light blond with a spongy texture. Gently press the top of the sponge with the top of your finger. It should spring back up.
- Add egg yolks and sugar in a medium mixing bowl, place over a pot of simmering water and without the bottom of the bowl making direct contact with the simmering water. Keep whisking until egg mixture is pale and thick or the mixture reaches around 72oC
- If using gelatin powder, microwave the bloomed gelatin for 10 seconds, use a toothpick to stir and add into the warm egg mixture to dissolve. If using gelatin leaves, add the softened and drained leaves into the warm egg mixture, whisk and let it dissolve.
- Whip the thickened cream to firm peaks and reserve in the fridge
- Whisk the mascarpone cream, rum, condensed milk and vanilla into the cooled egg mixture. Thenf old in the whipped cream.
- Line a flat tray with baking paper and place the 18cm cake ring on top. Set aside
- Place a sponge disc at the base of the cake ring, and brush generously with the coffee soak. Pour one third of the mascarpone sabayon inside the ring, making sure it fills up any gaps around the soaked sponge and against the cake ring. Place the second disc of sponge on top, brush generously with the coffee soak and top with another third of the mascarpone cream.
- Take the remaining mascarpone cream out of the refrigerator and whisk it until it becomes a pipeable texture, while remaining creamy. Fill up the piping bag and pipe kisses shapes to cover the entire tiramisu top. Place back in the refridgerator to set completely
- Carefully transfer the tiramisu with the ring onto a serving dish, lifting the tiramisu with a large palette knife. Using a blowtorch, gently warm up the side of the ring to loosen and release it from the tiramisu. Using a small sieve, generously dust the cocoa powder all over the tiramisu

Remember, tiramisu is always best when it’s had time to rest! Let it chill in the fridge overnight so all those rich coffee and condensed milk flavors melt together into perfection.
If you give this recipe a try, don’t forget leave a comment down below and let me know how it turned out. I can’t wait to hear what you think!